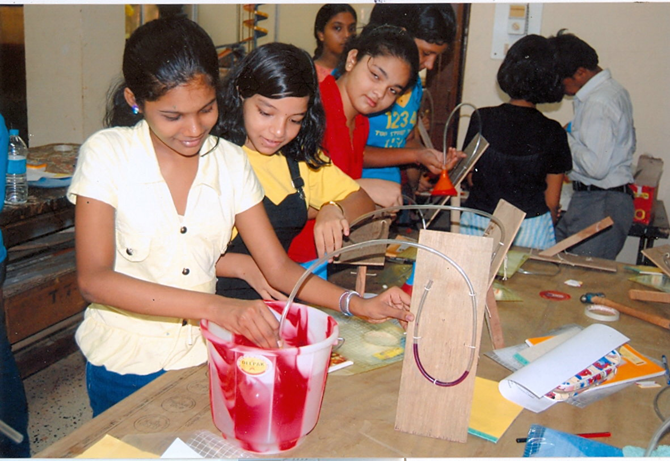
MAKE YOUR OWN PRESSURE GAUGE
MAKE
YOUR OWN PRESSURE GAUGE
Nikunja Bihari Sahu
Water, like any other liquid, is
capable of exerting pressure. Its pressing ability arises because of the
distribution of its own weight. There are numerous applications of this principle
in our daily life. An under-water swimmer very well knows how strongly
he is crushed by water as he plunges to more and more depths. Fishes living
near the bottom of the sea have thin elongated bodies shaped due to the
tremendous pressures of water from all sides. A deep sea diver needs a
protective suit and helmet to stand up to the high pressure under water. The walls of a dam, built across a river to
stop and store water, are designed much thicker at the bottom than at the top
to withstand the tremendous pressure of water. Similarly, the reservoir in a public water supply system is placed at an elevated location
to allow water to have sufficient pressure to flow to consumers located at
lower grounds.
There are three laws governing the
pressure applied by water (or any liquid) at rest. These are: Pressure increases with depth; Pressure
remains same at any particular depth; Pressure is same from all directions at
any point inside water. Let’s make a device to demonstrate the pressure applied
by a liquid.
What
You Need
Plywood sheet ( 6mm
thickness)-12 inches x 6 inches),Wooden batten ( 1 inch x 1 inch x 8 inches),
Iron nail, Transparent plastic tube ( diameter: ¼ inches that can be collected from a hardware
shop), Cello tape, Plastic funnel, Balloon (large size) , Coloured liquid, Hammer,
Paper cutter knife, Ink dropper and Bucket partially filled with water.
How You Make
Fix the wooden batten on
one side of the plywood sheet with nails so that the plywood sheet stands of
its own. Fix the plastic tube on the opposite face of the plywood sheet in the
shape of a ‘U’ with cello- tape. Introduce some coloured liquid into the limbs
of the ‘U’ tube with an ink dropper. Normally, the level of coloured liquid
remains at equal level in both the limbs of the ‘U’ tube. Attach the funnel to
the free end of the ‘U’ tube with cello-tape air-tightly. Cut the balloon with
the help of the knife and stretching the balloon sheet tightly over the face of
the funnel, tape its edges to the brim of the funnel air tightly. So there you
have your device ready! Such a device is commonly called the Manometer which is
often used to measure the pressure of a liquid or gas.
How You Do
Dip the funnel into water taken in a bucket. The water exerts pressure on the balloon sheet (attached to the funnel) which is communicated to the coloured liquid in the ‘U’ tube via the intermediate air mass. As a result, the liquid (coloured liquid) level at the limb of the ‘U’ tube nearest to the funnel goes down and that at the other goes up – the difference of liquid column being the measure of the applied pressure.
To verify the laws of pressure, plunge the
funnel to more and more depths inside water taken in a bucket. The difference of
liquid columns in both the limbs of the ‘U’ tube will increase indicating more
pressure. Next, move the funnel along a
particular depth inside water touching all the points there. Pressure will not change. Lastly, keeping the funnel
fixed at any point, turn its face around to different directions. No change of
pressure will be observed.
Education Officer
Regional
Science Centre
Pt. Jawaharlal Nehru Marg
Bhbaneswar-751013
Phone- 9938974485


Comments
Post a Comment